Debugging is a crucial process when it comes to fixing issues in WordPress. It allows developers to identify and fix errors, issues, or bugs on their website. However, debugging can be a complex process, and it’s important to know how to enable it in WordPress.
In this step-by-step guide, we will show you how to enable debugging in WordPress to help you diagnose and fix issues on your website according to wordpress.org.
Step 1: Access the wp-config.php File
The first step is to access the wp-config.php file, which is located in the root directory of your WordPress installation. You can access it using an FTP client or through your hosting control panel.
Step 2: Define the Debugging Constants
Once you have accessed the wp-config.php file, you need to define the debugging constants. To do this, add the following code before the line that says “/* That’s all, stop editing! Happy blogging. */”:
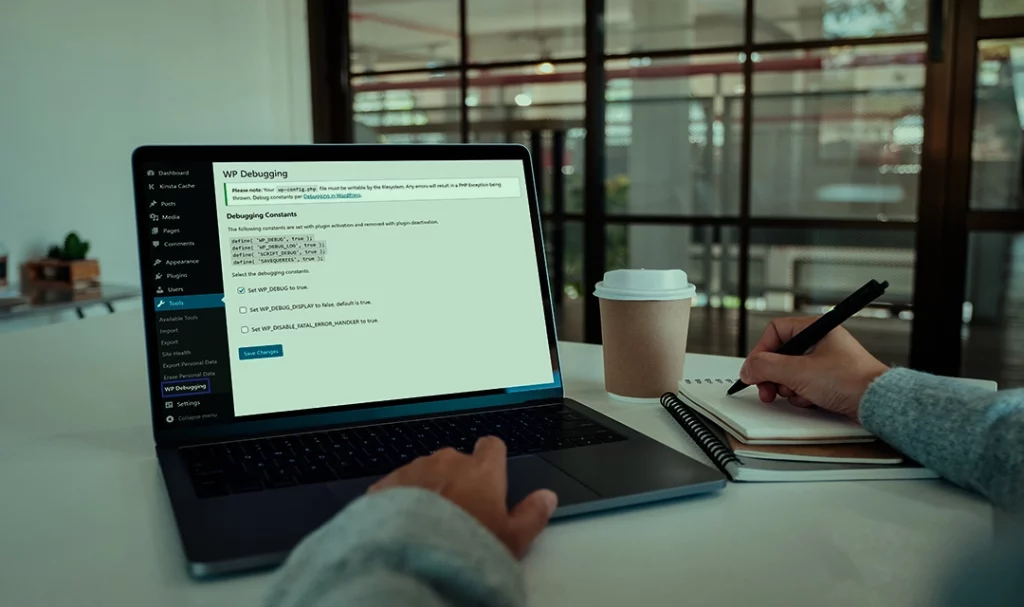
define( 'WP_DEBUG', true );
define( 'WP_DEBUG_LOG', true );
define( 'WP_DEBUG_DISPLAY', false );
The first constant, WP_DEBUG, enables the debugging mode in WordPress. The second constant, WP_DEBUG_LOG, logs all errors and warnings to a file named debug.log, which is located in the wp-content directory. The third constant, WP_DEBUG_DISPLAY, controls whether errors and warnings are displayed on the website. In this case, we have set it to false, which means that errors and warnings will not be displayed on the website.
Step 3: Save and Upload the wp-config.php File
Once you have added the debugging constants to the wp-config.php file, save the changes and upload the file to your server. Make sure to overwrite the existing file if prompted.

Step 4: Reproduce the Issue
Now that you have enabled debugging, it’s time to reproduce the issue that you’re experiencing on your website. This will help generate error messages that you can use to diagnose and fix the issue.
Step 5: Check the Debug Log File
To access the debug log file, go to the wp-content directory on your server and locate the debug.log file. Open it in a text editor and look for error messages. These error messages will provide you with information on what caused the issue and where it occurred.
Step 6: Disable Debugging
After you have fixed the issue on your website, it’s important to disable debugging. To do this, simply remove the debugging constants from the wp-config.php file or set WP_DEBUG to false.
Enabling debugging in WordPress is a crucial process for any developer. It allows you to diagnose and fix issues on your website, ensuring that it runs smoothly and efficiently. By following these simple steps, you can enable debugging in WordPress and fix any issues that arise on your website.